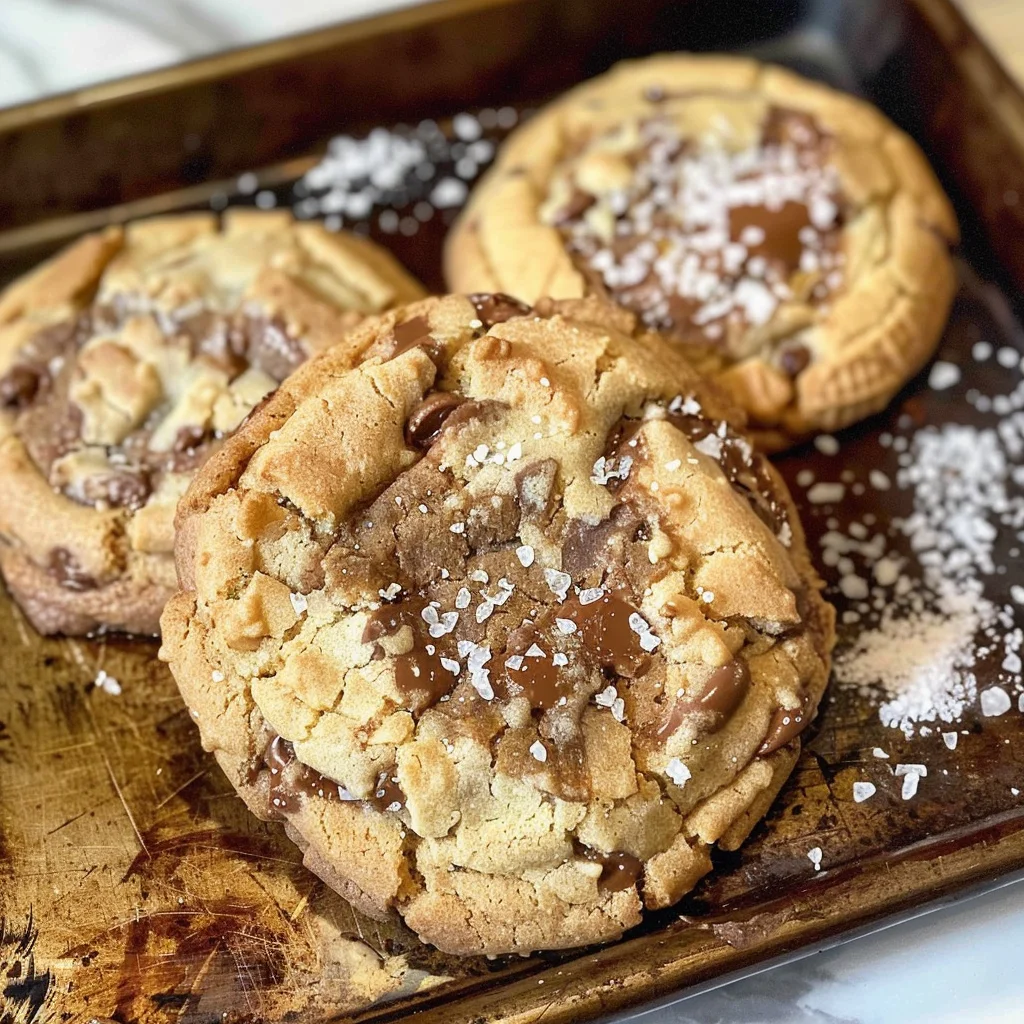
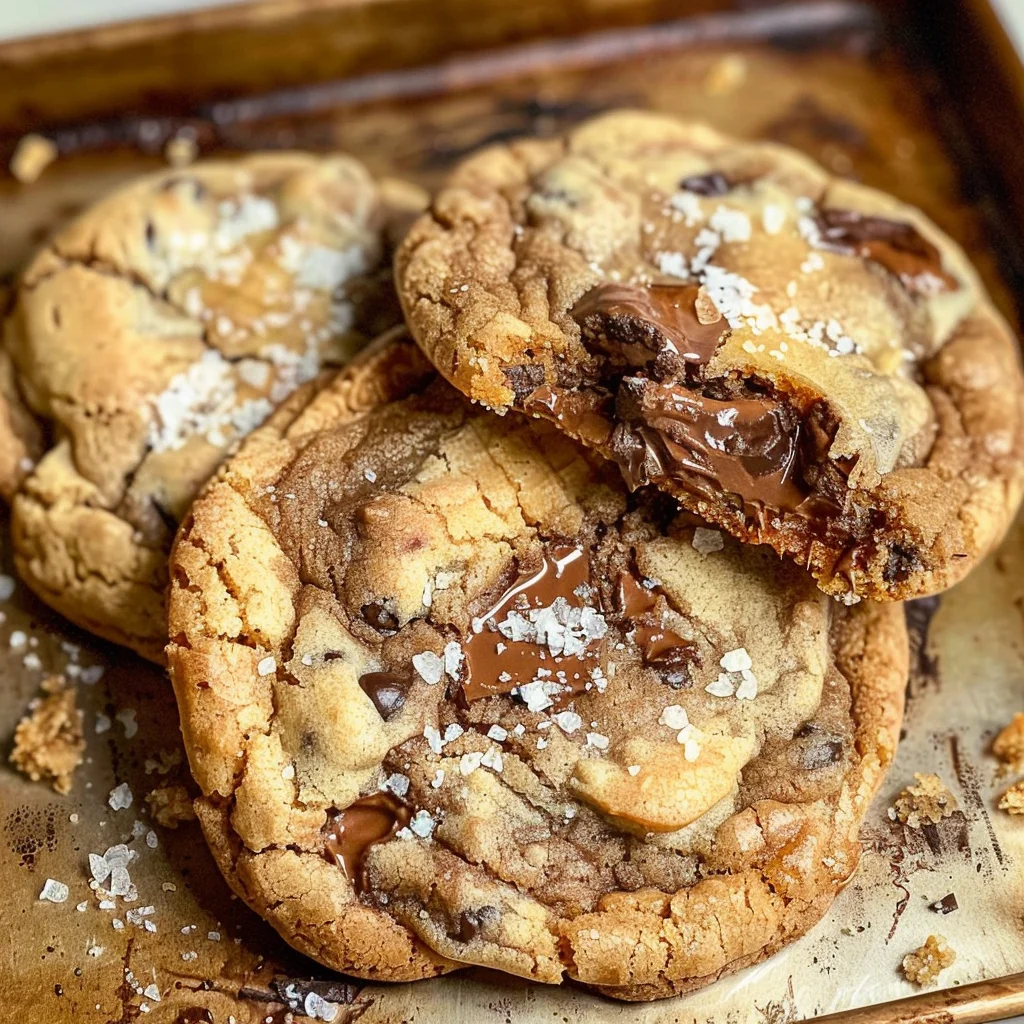
If you’re looking for a delightful dessert that combines the fun of ice cream with the comfort of cookies, these Ice Cream Cone Cookies are just what you need! Perfectly chewy and buttery, each bite is filled with crunchy bits of broken ice cream cones, rich chocolate chips, and swirls of hot fudge. It’s a treat that brings smiles to both kids and adults alike, making it an excellent choice for family gatherings, birthday parties, or even just a cozy evening at home.
What makes this recipe even better is how quick and easy it is to whip up! With simple ingredients and straightforward steps, you’ll have a batch of these delicious cookies ready in no time. Trust me, once you try them, they’ll become a favorite in your household too!
Why You’ll Love This Recipe
- Super Easy to Make: You can have these scrumptious cookies baked in just about 30 minutes!
- Family-Friendly Fun: Kids love helping out with the mixing and adding their favorite toppings.
- Delicious Flavor Combo: The blend of crunchy cone pieces and gooey hot fudge creates a unique taste experience.
- Perfect for Any Occasion: Whether it’s a weekday treat or a special celebration, these cookies fit right in.
- Make Ahead Convenience: They store well, making them perfect for meal prep or unexpected guests.
Ingredients You’ll Need
These Ice Cream Cone Cookies use simple, wholesome ingredients that you likely already have in your pantry. Let’s take a look at what you’ll need:
For the Cookie Base
- ½ cup butter
- ¾ cup brown sugar
- ¼ cup granulated sugar
- 1 large egg
- 2 tsp vanilla
- ½ tsp baking powder
- ½ tsp baking soda
- ½ tsp salt
- 1½ cups all-purpose flour
For the Add-Ins
- ½ cup chocolate chips
- 2 sugar or waffle cones
- 3 tbsp hot fudge (chilled or frozen)
- Flaked salt for topping
Variations
This recipe is wonderfully flexible! If you want to mix things up or cater to different tastes, here are some fun variations to try:
- Add Nuts: Toss in some chopped nuts like walnuts or pecans for an extra crunch.
- Go Gluten-Free: Substitute regular flour with a gluten-free blend for those with dietary restrictions.
- Make It Vegan: Use vegan butter and substitute the egg with flaxseed meal mixed with water.
- Experiment with Flavors: Try adding different flavored chips like butterscotch or peanut butter for a twist.
How to Make Ice Cream Cone Cookies
Step 1: Preheat Your Oven
Preheat your oven to 375°F (190°C) and line two baking sheets with parchment paper. This ensures your cookies bake evenly and don’t stick!
Step 2: Cream the Butter and Sugars
In a stand mixer fitted with a paddle attachment, combine your butter and sugars. Beat on medium-high speed until the mixture becomes light and fluffy—about 3 to 4 minutes. This step is crucial as it incorporates air into the dough, giving your cookies that perfect chewy texture.
Step 3: Mix in Egg and Vanilla
Add the large egg and vanilla extract to the bowl, mixing on low speed until everything is well combined. The vanilla adds such wonderful flavor that enhances every bite!
Step 4: Combine Dry Ingredients
Gradually mix in your dry ingredients—baking powder, baking soda, salt, and flour. Be careful not to overmix; stop when there are still some flour remnants visible for a tender cookie.
Step 5: Fold in Chocolate Chips and Cone Pieces
Now comes the fun part! Stir in chocolate chips and break up your ice cream cones into small pieces before folding them into the dough. Add three scoops of chilled hot fudge by swirling it into the mixture without over-stirring—this will create beautiful marbling throughout your cookies.
Step 6: Scoop the Cookie Dough
Using a large scoop (around 4 tablespoons), portion out your cookie dough onto the prepared baking sheets. Leave enough space between each ball because they will spread while baking.
Step 7: Bake to Perfection
Sprinkle flaked salt on top of each cookie ball before placing them in the oven. Bake for about 11-14 minutes until the edges turn golden brown. As soon as they come out of the oven, gently shape them into perfect circles if needed—this little trick helps achieve that ideal look!
Enjoy these delightful Ice Cream Cone Cookies warm from the oven or let them cool completely before storing them for later!
Pro Tips for Making Ice Cream Cone Cookies
Baking is all about having fun and experimenting, so here are some tips to help you get the best results with your Ice Cream Cone Cookies!
-
Use room temperature ingredients: This ensures that your butter mixes well with sugars, creating a light and fluffy dough that yields perfectly chewy cookies.
-
Don’t overmix the dough: Gently folding in the dry ingredients helps maintain a tender texture. Overmixing can lead to tough cookies.
-
Chill the dough before baking: If you have time, refrigerate the cookie dough for about 30 minutes. This helps the flavors meld and prevents spreading during baking.
-
Keep an eye on baking time: Ovens vary, so start checking your cookies a minute or two before the recommended time. You want them golden around the edges but still soft in the center.
-
Experiment with mix-ins: Feel free to add different types of chocolate or even nuts to customize your cookies. This adds unique flavors and textures!
How to Serve Ice Cream Cone Cookies
These delightful Ice Cream Cone Cookies can be presented in a variety of ways that will impress your family and friends. Here are some ideas to enhance your serving experience!
Garnishes
- Flaked sea salt: A sprinkle on top enhances the sweet flavors and adds a lovely crunch.
- Drizzle of hot fudge: A warm drizzle over each cookie makes for an inviting presentation and extra chocolatey goodness.
Side Dishes
- Vanilla ice cream: The classic pairing! A scoop of creamy vanilla complements the chewy texture of the cookies beautifully.
- Fresh fruit salad: A refreshing mix of seasonal fruits adds a light contrast to the sweetness of the cookies.
- Whipped cream: Light and airy whipped cream provides a delightful topping that can elevate any dessert experience.
- Milk or plant-based milk: Serve alongside for dipping; it’s a nostalgic pairing that everyone loves!
Make Ahead and Storage
These Ice Cream Cone Cookies are perfect for meal prep, allowing you to enjoy them whenever a sweet craving strikes!
Storing Leftovers
- Store cookies in an airtight container at room temperature for up to 3 days.
- If you want to keep them fresh longer, place parchment paper between layers of cookies.
Freezing
- Allow cookies to cool completely before freezing.
- Place cookies in a single layer on a baking sheet and freeze until solid. Then transfer them to a freezer-safe bag or container.
- Cookies can be frozen for up to 2 months.
Reheating
- To enjoy warm cookies, preheat your oven to 350°F (175°C).
- Place cookies on a baking sheet and heat for about 5-7 minutes, or until warmed through.
FAQs
Can I make Ice Cream Cone Cookies gluten-free?
Yes, you can substitute regular all-purpose flour with a gluten-free flour blend. Just ensure that all other ingredients are also gluten-free.
How can I customize my Ice Cream Cone Cookies?
You can add different mix-ins like nuts, sprinkles, or even swap out chocolate chips for white chocolate or butterscotch chips to create your own variation.
How long do Ice Cream Cone Cookies last?
When stored properly in an airtight container, these cookies will stay fresh for about 3 days at room temperature or up to 2 months in the freezer.
What can I use instead of ice cream cones in the recipe?
If you don’t have ice cream cones on hand, crushed waffle cookies or graham crackers can be excellent substitutes for that crunch and flavor.
Final Thoughts
I hope you find joy in making these delightful Ice Cream Cone Cookies! They’re not just a treat; they bring back fond memories of summer and fun. Enjoy every bite and don’t hesitate to share them with friends and family. Happy baking!
Ice Cream Cone Cookies

Indulge in the joy of Ice Cream Cone Cookies, a whimsical dessert that marries the fun of ice cream with the comforting texture of cookies. These chewy, buttery delights are packed with crunchy bits of broken ice cream cones and rich chocolate chips, swirled with luscious hot fudge for an irresistible treat. Perfect for family gatherings, birthday parties, or cozy evenings at home, these cookies are sure to bring smiles to both kids and adults alike. Best of all, they come together quickly with simple ingredients and straightforward steps. Once you try them, you’ll want to make them a staple in your baking repertoire!
- Prep Time: 15 minutes
- Cook Time: 12 minutes
- Total Time: 27 minutes
- Yield: Approximately 24 cookies 1x
- Category: Dessert
- Method: Baking
- Cuisine: American
Ingredients
- ½ cup butter
- ¾ cup brown sugar
- ¼ cup granulated sugar
- 1 large egg
- 2 tsp vanilla extract
- ½ tsp baking powder
- ½ tsp baking soda
- ½ tsp salt
- 1½ cups all-purpose flour
- ½ cup chocolate chips
- 2 sugar or waffle cones
- 3 tbsp hot fudge (chilled or frozen)
- Flaked salt for topping
Instructions
- Preheat your oven to 375°F (190°C) and line two baking sheets with parchment paper.
- In a stand mixer, cream together the butter and sugars until light and fluffy (about 3-4 minutes).
- Add the egg and vanilla extract; mix on low speed until well combined.
- Gradually add the dry ingredients (baking powder, baking soda, salt, and flour) until just combined.
- Fold in chocolate chips and broken ice cream cones, adding hot fudge in swirls.
- Scoop cookie dough onto prepared baking sheets, leaving space between each ball.
- Sprinkle flaked salt on top before baking for 11-14 minutes or until edges are golden brown.
Nutrition
- Serving Size: 1 serving
- Calories: 180
- Sugar: 10g
- Sodium: 80mg
- Fat: 8g
- Saturated Fat: 5g
- Unsaturated Fat: 2g
- Trans Fat: 0g
- Carbohydrates: 25g
- Fiber: 1g
- Protein: 2g
- Cholesterol: 20mg